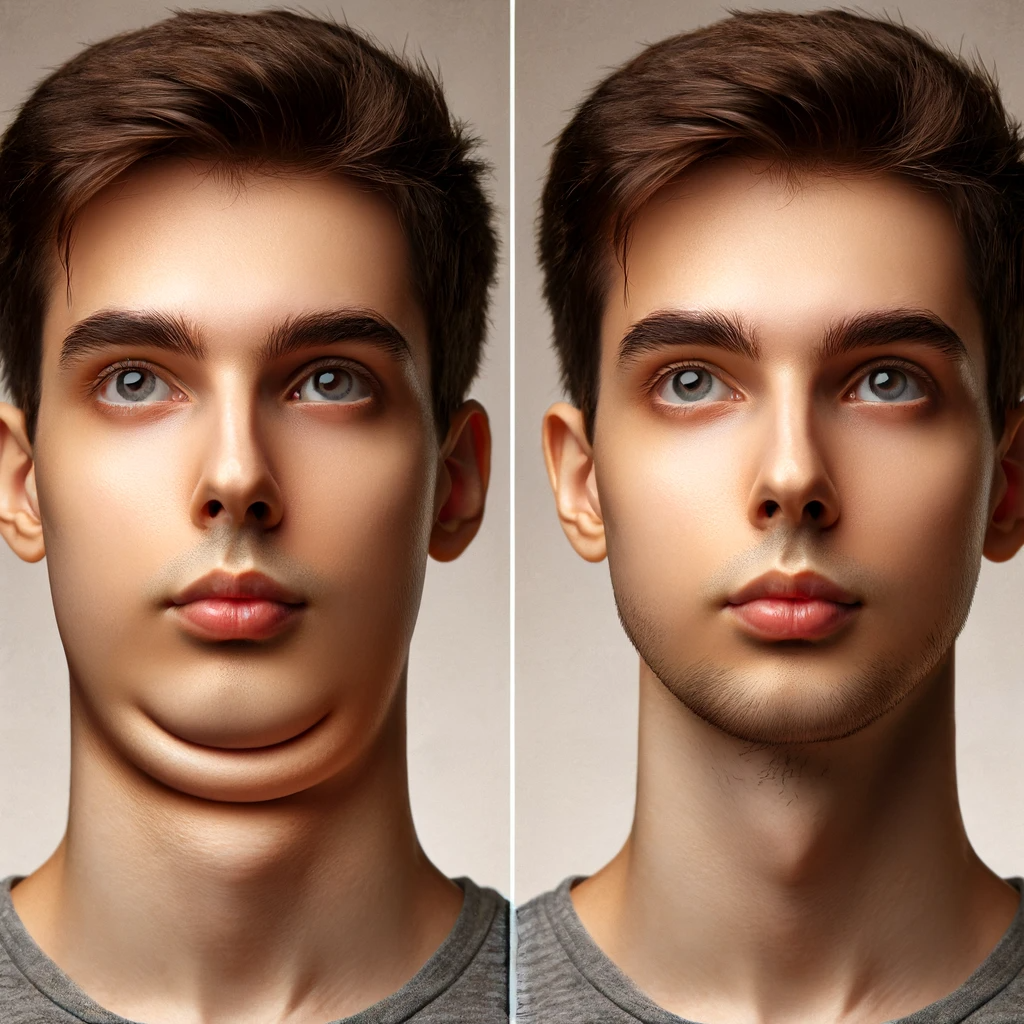
Photoshop tip: Reducing a Double Chin
To remove a double chin in Photoshop using the Warp tool in addition to duplicating and transforming layers, you can follow these steps:
Open the Image: Start Photoshop and open the image you wish to edit.
(optional) Duplicate the Layer: In the Layers panel, right-click on the background layer and choose 'Duplicate Layer.'
Select the Area: With the top layer still selected, use the Lasso Tool or Pen Tool to carefully select the area around the double chin. This selection doesn't need to be perfect, but it should cover the area you want to adjust. Try to select the area up to, but not including, the chin line that you don’t want modified.
Feather the Selection: To soften the edges of your selection, go to 'Select' > 'Modify' > 'Feather.' Choose a small radius to make the transition smoother.
Press Ctrl-J twice to create two layers, each of the selection. To create a clipping mask, hold down the Alt (or Option) key and click between the two layers in the Layers Panel, hold the Alt (or Option on Mac).
Transform and Warp the Selected Area: With the top layer still selected, press Ctrl+T (or Cmd+T on Mac) to activate the Free Transform tool. Right-click inside the transform box and choose 'Warp.' The Warp tool allows for more precise manipulation than Free Transform. Gently push and pull the grid to reshape and minimize the double chin area. Aim for subtle adjustments to keep the image looking natural.
Refine with Clone Stamp or Healing Brush Tool: If you notice any harsh edges or texture mismatches, use the Clone Stamp or Healing Brush Tool to blend the edited area with the surrounding skin.
Adjust Layer Opacity: If the changes are too pronounced, you can lower the opacity of the edited layer to blend it more naturally with the original image.
Merge Layers: Once you're satisfied with the look, merge the layers by right-clicking on them in the Layers panel and selecting 'Merge Layers.'
Final Touches: Make any final adjustments to color or lighting to ensure the edited area blends seamlessly with the rest of the image.
Remember, less is often more with photo retouching. Regularly toggle between your edited version and the original to ensure that your changes look realistic.
